#MomsFoodHacks #MomsSavingTime #SnackPackHacks #EasingTheBackToSchoolJuggle
My son looked at me, his eyes opened wide and his eyebrows, perfect semi circles, seemed to reach his hairline. His mouth, outlined with frosting, stretched into most surprised and joyful smile I’d seen on his tiny face.
That was 6 years ago, when my son tasted his first birthday cake. Now, he routinely conjures up ideas of what to bake next.
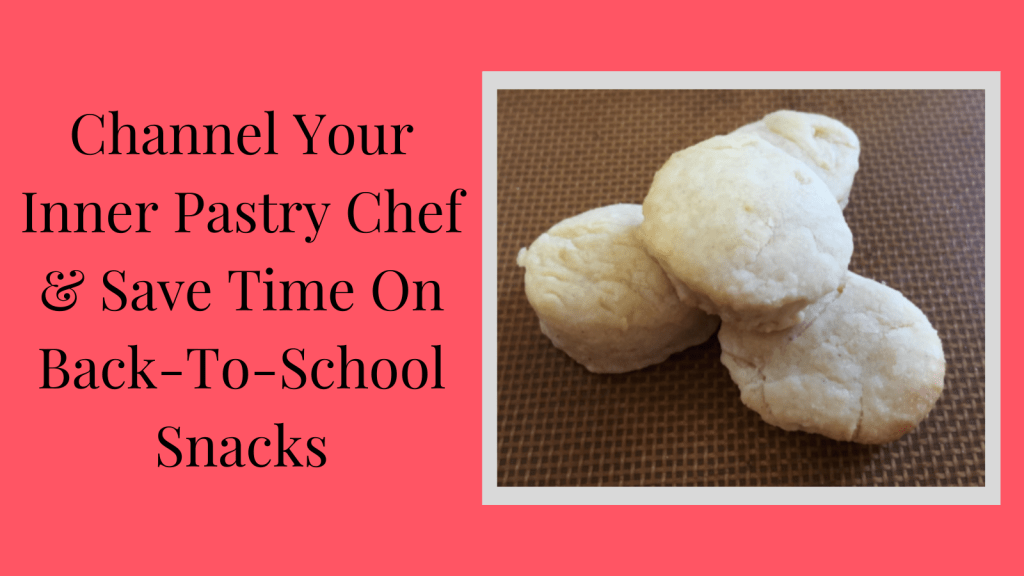
Many of us love the idea of homemade snacks for our kids… after all, nothing puts you into Rock-Star-Mommy status faster than gifting warm treats from the oven. However, the process of deciding to bake, buying said ingredients to bake with and then actually baking becomes easy to bump from the busy back-to-school (and life) schedule.
Although it’s been many years since culinary school and my time working in restaurant kitchens was brief, I learned my best food short-cuts from professional Chefs. Working smart makes homemade goodies for the lunchbox and after school completely doable. Really.
3 Simple Snack-Batching Steps:
- Batch Make.
- Batch Freeze.
- Bake On Demand.
Batch Making
Making the dough either becomes a weekend project with the kids, because they love being my little sous-chefs or if the weekend is just too crowded, I make and freeze dough after they’re asleep. Have I woken up before dawn to batch bake before school? Why yes but please don’t. It’s much easier to enjoy this project when you have some wiggle room in the schedule.
Take a favorite recipe and double it (or triple it) for a freezer batch. My youngest is a toddler (not in school yet) so I’m doing a double batch for one child every 4 – 8 weeks.
The dough making step, is pretty quick, typically 20 – 30 minutes. It depends on the complexity of what you decide to make and if you have little hands helping you.
Choosing The Right Recipes:
- Cookies without fillings, frostings or meringues (keep it simple when freezing).
- Scones Love using scones, they’re relatively low in sugar and I ‘make up’ flavors by using what’s available. Sometimes I’ll make a triple batch if we’re hosting brunch (2 batches of regular scones for the party, 1 batch cut into mini-scones for my son’s snacks).
- Muffins/quick breads, The dough freezes well, it’s just trickier to work with when freezing. You’ll need either (oiled) mini-loaf tins (i.e., if you’re making pumpkin or banana bread) or for mini-muffins, freeze 1 tbsp. of dough in small paper muffin liners fully before putting them into the freezer-safe containers.
Here are links to 2 favorite recipes that my oldest loves in our out of his lunchbox:
Smitten Kitchen’s graham crackers
Note, I’ve had great success with this recipe and I modify it slightly to make very small graham ‘crackers’ (they should be called graham cookies), about 1.5 inches in diameter and the baking time, directly from the freezer is between 7 – 9 minutes. Start watching them frequently at 7 minutes, when they’re slightly puffed and browned, remove them from the oven to cool.
King Arthur Flour’s Soft Chocolate Chip Cookies
Note, I make a lot of different chocolate chip cookie recipes, including some of my own varieties but this one is great because it uses whole wheat flour, (it says to use white whole wheat but you can also use regular whole wheat and they’re still delicious) honey and less refined sugar. I make them tiny (i.e. 1 tablespoon to form the rounds) and with mini-chocolate chips (I use the Enjoy Life brand mini chips, you can buy them at most grocery stores. I discovered them during my 14-month stint of dairy-freeness due to my daughter’s allergy and still like using them).
Freezing
This part is straightforward except you need some time to freeze the dough solid (uncovered) before you can pack everything up for longer term storage. Allow yourself enough time, probably 45 minutes to an hour, for this step. Sometimes, I just make dough with the kids during the day and save this step for when they’re asleep.
Gear You’ll Need:
- Reliable freezer bags (I use Ziploc brand) or freezer safe airtight containers
- Parchment paper
- A permanent marker (if using freezer bags)
- Spray oil (I use organic coconut oil spray but you can use canola, i.e. something mild but not savory like olive oil that can make your baked goods taste like they belong in a salad).
- Shelf space in your freezer where newly frozen items can rest, undisturbed, for about an hour.
After I’ve made a batch of dough (scones, cookies, etc.) I will use plates, either lined with parchment or sprayed lightly with coconut oil, to put the dropped (or rolled) dough (separated, so they don’t stick together) into the freezer, uncovered in a ‘safe’ spot to rest undisturbed for 30 – 60 minutes. Once the dough feels firm, you can store in either freezer bags (separated with a cut piece of parchment paper between each layer, for 2 or more more layers in the same bag) or freezer safe containers (also separate layers with parchment to prevent sticking).

Use the marker to label the freezer bags (if using) what’s in it, the date and the cooking temperature and time. Trust me, it’s possible your tired brain might forget these little details when you’re ready to use them!
Baking
It’s the best step, fun, fast and satisfying. If you use the types of recipes I recommend and make the portions small enough for lunchboxes, you’re unlikely to need more than 10 – 12 minutes to bake anything. Usually an extra 1 or 2 minutes from the recipe’s baking guidelines, unless you’ve miniaturized, then you’ll want to experiment with the baking time (start checking 3 or 4 minutes before the recipe’s stated end time).
I bake off 2 cookies (or scones or mini muffins, whatever I’ve made for the freezer) each afternoon and then, once completely cooled, the sweets are packed in a small airtight snack container and placed in my son’s lunchbox for the next day.
Frequency
I generally make a new batch of school-snack-treat-dough once every 4 – 8 weeks for my son, depending on whether snacks are used on the weekends (usually not) or we have friends over who want cookies. If you double a recipe and have more than one treat-eater, you’ll need to do this more frequently. Because I love to bake and I’m particular (ok, a control freak) about what my kids eat, this system works well for me and ultimately saves time and money (versus continually shopping for grocery store snacks).
A few friends asked me about back-to-school food, inspiring this post. Typically I only share dinner menus here but if you’re interested in the occasional baking or party menu post, I’m happy to share my recipes and time saving hacks more often, just let me know in the comments.
Join the fun! If you’re not already on the weekly email list, please sign up!